
Welcome back to our series on preparing your home’s plumbing for winter! In our introductory article, we outlined five essential Fall tasks to protect your system from the impending cold. We’ve covered disconnecting and draining outdoor hoses and faucets, insulating exposed pipes, flushing and maintaining your water heater, and inspecting and repairing indoor leaks in detail. Now, we’re concluding the in-depth segments with the fifth recommendation: testing and cleaning sump pumps—if your home has one. As of October 01, 2025, with fall weather bringing potential rain and early snow in some regions, this maintenance is key to avoiding basement floods when winter’s thaw or heavy precipitation arrives.
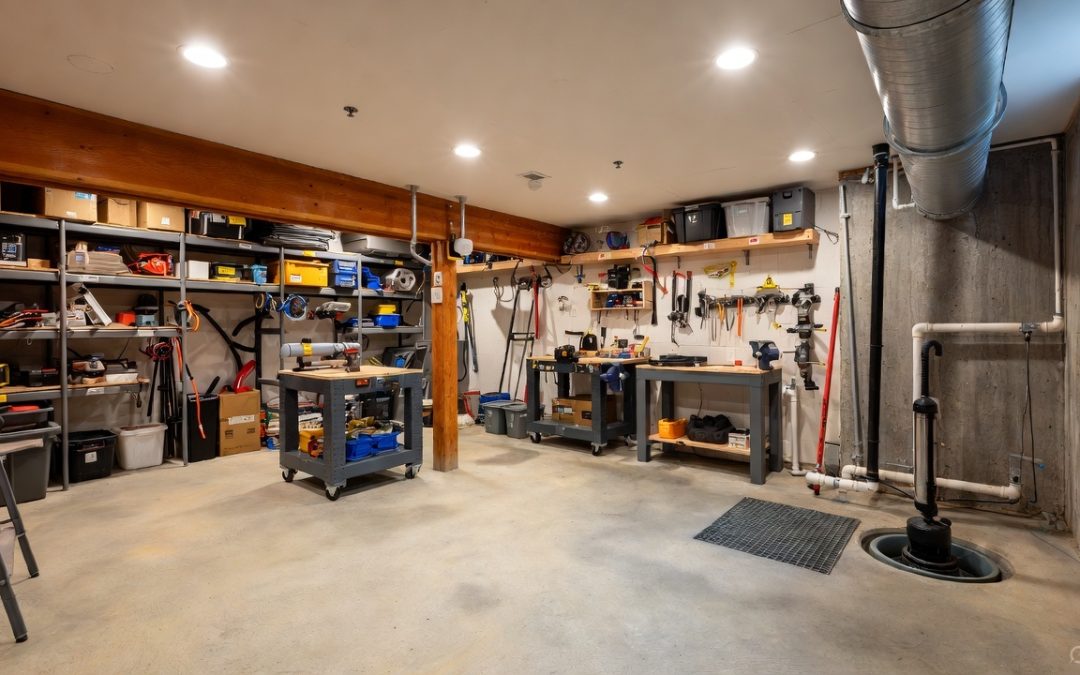
Sump pumps are lifesavers in homes prone to water intrusion, pumping out excess groundwater or runoff from sump pits to prevent flooding. However, dirt, debris, and sediment can clog them, leading to failures during critical times. A malfunctioning sump pump can result in thousands of dollars in water damage, mold remediation, and lost belongings. Regular testing and cleaning ensure reliability, especially in winter when frozen ground can exacerbate water pooling. This task is crucial for basements or low-lying areas, but if your home lacks a sump pump, consider consulting a professional about installation for added protection.
While this is often a manageable DIY job, it involves electricity and water, so prioritize safety. If you notice electrical issues, severe clogs, or structural problems in the pit, stop and call experts immediately to avoid shocks or further damage. Signs of trouble like constant running, unusual noises, or failure to activate warrant prompt attention. For all such concerns, contact L.E. Brown Home Improvement—our specialists can handle testing, cleaning, repairs, and even upgrades to battery-backup systems for uninterrupted operation.
Understanding Sump Pumps: Types and Why Maintenance Matters
Sump pumps come in two main types, each requiring similar maintenance:
- Submersible Pumps: Installed inside the sump pit, these are quieter and more powerful but harder to access for cleaning. They handle high water volumes and are common in flood-prone areas.
- Pedestal Pumps: The motor sits above the pit on a pedestal, making them easier to service but noisier. Ideal for smaller spaces or less severe water issues.
Both types use a float switch to activate when water rises. Over time, gravel, dirt, or mineral buildup can jam the switch or impeller, causing failures. Many also have backup batteries or alarms for power outages. Annual cleaning removes obstructions, while testing verifies functionality—preventing surprises during storms or melts. In hard water areas, mineral deposits accelerate wear, so more frequent checks are advised.
If your pump is over 7-10 years old, consider a professional evaluation for replacement, as efficiency drops with age. Not sure about your type or setup? L.E. Brown Home Improvement can inspect and explain.
Tools and Materials You’ll Need
Prepare these items for safe and thorough work:
- Bucket or shop vac (for water and debris removal)
- Garden hose (for rinsing)
- Gloves, safety goggles, and rubber boots (for protection)
- Flashlight (to inspect the pit)
- Screwdriver or wrench (for removing covers or the pump)
- White vinegar or mild cleaner (for dissolving buildup)
- Extension cord (if testing power)
- Plastic tarp or sheeting (to contain mess)
- Optional: Backup battery tester, float switch tester, or compressed air for drying
Ensure the area is well-ventilated, and have a GFCI outlet for electrical safety.
Step-by-Step Instructions for Testing and Cleaning Sump Pumps
Perform this in Fall, or biannually in wet climates. Allow 30-60 minutes, and avoid during active flooding.
Step 1: Safety Preparations and Initial Inspection
- Turn off the circuit breaker to the sump pump to cut power.
- Inspect the power cord for frays or damage; replace if needed.
- Check the discharge pipe outside for clogs, ice potential, or improper slope (it should direct water away from the foundation).
- Examine the pit for excessive debris or water levels. If overwhelmed, bail out water first.
- If you smell gas or see sparks, evacuate and call professionals like L.E. Brown Home Improvement.
Step 2: Clean the Sump Pit and Pump
- Remove the pit cover (if present) and scoop out debris, gravel, or sludge with a bucket or shop vac.
- Disconnect and lift the pump out (for submersible) or access the base (for pedestal).
- Rinse the pump, grate, and float switch with a hose to remove dirt.
- Soak components in vinegar for 15-30 minutes to dissolve mineral buildup, then scrub gently with a brush.
- Clean the check valve (prevents backflow) by removing and flushing it.
- Reassemble and ensure the float moves freely.
Step 3: Test the Pump
- Restore power and pour 5-10 gallons of water into the pit slowly until the float rises and activates the pump.
- Observe: The pump should start, discharge water efficiently, and stop when the level drops.
- Test the float switch manually by lifting it—listen for the motor.
- If equipped, test the battery backup by unplugging the main power and repeating the water test.
- Check the alarm (if present) by simulating high water.
- Monitor for vibrations, noises, or slow drainage—indicators of issues.
Step 4: Final Checks and Reassembly
- Ensure the discharge pipe is clear and extends at least 10-20 feet from the house.
- Replace the pit cover securely to keep out pests.
- Run a final test and note any anomalies for future reference.
Step 5: Special Considerations
- For battery backups: Charge fully and test monthly in winter.
- In cold climates, insulate the discharge pipe to prevent freezing.
- If your area has heavy sediment, install a filter or screen.
Common Mistakes and Troubleshooting
- Mistake: Testing Without Cleaning: Debris can cause false failures; always clean first.
- Mistake: Overlooking Backups: Power outages are common in storms—test batteries.
- Trouble Signs: Pump doesn’t start (clogged switch), runs continuously (stuck float), or hums without pumping (jammed impeller). These require disassembly or replacement—don’t DIY if unsure; call L.E. Brown Home Improvement.
- If water doesn’t discharge properly, check for frozen pipes or blockages outside.
Why Professional Help Matters
DIY testing and cleaning suffice for basic upkeep, but pros use tools like cameras for deep inspections and can address complex issues like electrical faults or pit redesigns. Annual professional service extends pump life and ensures compliance with warranties. L.E. Brown Home Improvement provides expert maintenance, installations, and emergency repairs, giving you peace of mind against winter floods.
Wrapping Up and Looking Ahead
Testing and cleaning your sump pump this Fall fortifies your home against water damage, completing our in-depth preparations for a secure winter.
Stay tuned for our final summary article, recapping the series and emphasizing the urgency to act before winter arrives. In the meantime, if this task reveals problems or you need comprehensive plumbing support, reach out to L.E. Brown Home Improvement for all your needs. Here’s to a dry, worry-free season!