
Welcome back to our series on preparing your home’s plumbing for winter! In our introductory article, we outlined five essential Fall tasks to fortify your system against the cold. We’ve since delved into disconnecting and draining outdoor hoses and faucets, insulating exposed pipes, and flushing and maintaining your water heater. Now, we’re addressing the fourth recommendation: inspecting and repairing indoor leaks. As of October 01, 2025, with the chill of autumn deepening, this step is vital to prevent minor drips from escalating into major issues during winter, when frozen expansions or increased usage can amplify problems.
Indoor leaks are sneaky culprits that waste water—up to 1,000 gallons per year from a single dripping faucet—and drive up utility bills while fostering mold growth, structural damage, and health hazards like respiratory issues from mildew. Even small leaks can lead to thousands in repairs if ignored, especially in winter when humidity fluctuations exacerbate mold and rot. Regular inspections help catch them early, conserving resources and maintaining your home’s integrity. This task covers visible fixtures like sinks and toilets, as well as hidden areas behind walls or under floors.
However, while many repairs are DIY-friendly, safety comes first. Dealing with water near electricity, high-pressure lines, or mold requires caution. If you uncover extensive damage, electrical risks, or leaks in hard-to-access spots, halt immediately and seek pros. Ignoring signs like persistent odors or discoloration can lead to costly emergencies. At the first hint of trouble, contact L.E. Brown Home Improvement—our team excels in leak detection and repairs, using advanced tools to resolve issues efficiently.
Understanding Indoor Leaks: Types, Signs, and Common Locations
Indoor leaks vary by source and severity:
- Fixture Leaks: From faucets, showers, toilets, or appliances like dishwashers and washers. Often due to worn washers, seals, or valves.
- Pipe Leaks: In supply lines, drains, or behind walls, caused by corrosion, freezing, or poor installation.
- Appliance Leaks: From hoses, connections, or internal components in washers, dishwashers, or water heaters.
- Hidden Leaks: In walls, ceilings, or floors, indicated by damp spots, mold, or unexplained water bills.
Key signs include:
- Unexpected bill spikes (e.g., a toilet leak can waste 200 gallons daily).
- Dampness, discoloration, or warping on surfaces.
- Musty odors or mold growth.
- Sounds of dripping or running water when fixtures are off.
- Low water pressure or rusty water.
Common areas: Under sinks, around toilets, near appliances, in basements, attics, or where pipes enter walls. In winter prep, focus on these to avoid freeze-related bursts.
Tools and Materials You’ll Need
Assemble these for effective inspection and basic repairs:
- Flashlight and mirror (for hard-to-see spots)
- Moisture meter (detects hidden dampness)
- Bucket, towels, and rags (for containing water)
- Adjustable wrench, pliers, and screwdrivers
- Plumber’s tape, washers, O-rings, or seals (for fixes)
- Food coloring or dye tablets (for toilet tests)
- Pipe sealant or epoxy putty (for temporary pipe repairs)
- Gloves, safety goggles, and mold mask
- Optional: Acoustic listener or infrared camera (for advanced detection)
For major fixes, pros use pressure testers or thermal imaging. Start with basics; escalate if needed.
Step-by-Step Instructions for Inspecting and Repairing Indoor Leaks
Conduct this seasonally, ideally in Fall. Shut off water at the main valve for safety during repairs.
Step 1: Whole-Home Leak Detection
- Check your water meter: Note the reading, turn off all water, wait 15-30 minutes, and recheck. Movement indicates a leak.
- Monitor bills for spikes and inspect for visible signs like damp spots or odors.
Step 2: Inspect Key Areas
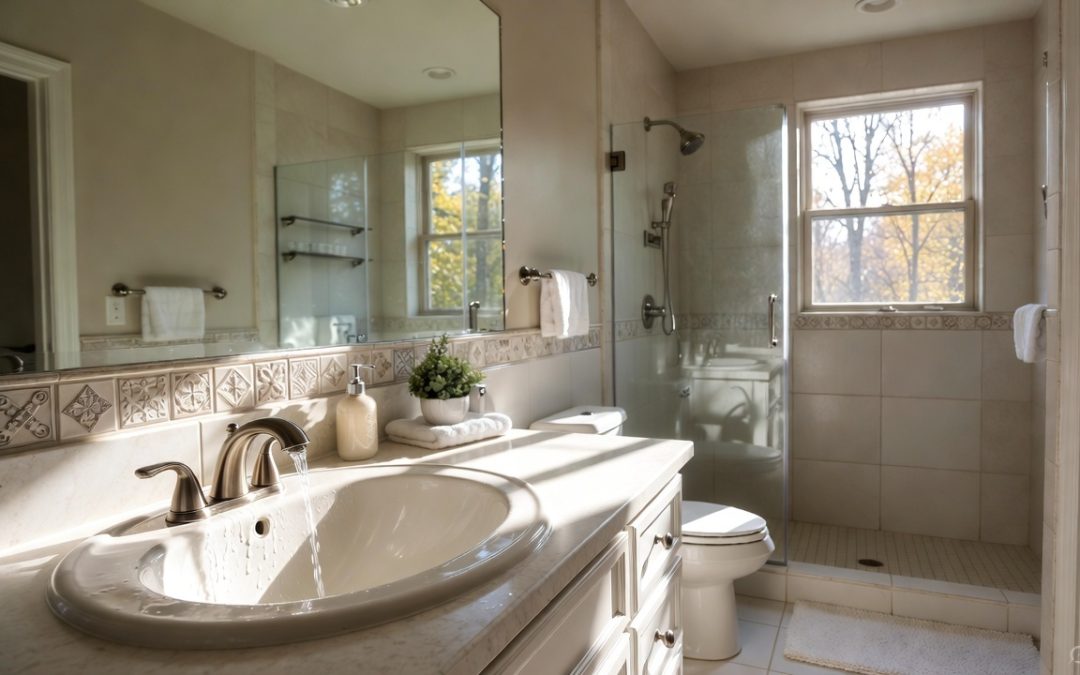
- Under Sinks and Cabinets: Look for puddles, stains, or corrosion. Tighten connections; replace washers if dripping.
- Toilets: Add dye to the tank; if color seeps into the bowl after 15 minutes, replace the flapper. Adjust fill valve if overflowing.
- Faucets and Showers: Run water and check joints. Replace washers or cartridges; use plumber’s tape on threads.
- Appliances: Inspect hoses on washers/dishwashers for cracks; tighten fittings or replace hoses.
- Walls and Ceilings: Use a moisture meter for hidden leaks; probe soft spots carefully.
- Basements and Crawl Spaces: Check pipes for condensation or drips; insulate if needed.
Step 3: Basic Repairs
- Faucet Drips: Disassemble, replace worn parts, reassemble with tape.
- Toilet Flapper: Remove old, install new; ensure chain isn’t snagged.
- Pipe Leaks: Clean area, apply epoxy or clamp for small holes; replace section if severe.
- Appliance Hoses: Shut off water, unscrew, clean screens, reinstall or replace.
- Test post-repair: Run water and monitor for 24 hours.
Step 4: Advanced Detection (If Needed)
- Listen for sounds with an acoustic device or use thermal imaging for temperature anomalies.
- For supply lines: Check for rumbling sounds or damp soil.
Step 5: Document and Monitor
- Note findings; re-inspect monthly in winter.
Common Mistakes and Troubleshooting
- Mistake: Ignoring Small Leaks: They worsen; fix promptly.
- Mistake: Over-Tightening: Strips threads; snug is enough.
- Trouble Signs: Persistent leaks, mold, or no fix after DIY—indicate deeper issues like pipe corrosion.
- If water doesn’t clear or pressure drops, it could be a main line problem; call pros like L.E. Brown Home Improvement.
Why Professional Help Matters
DIY handles basics, but hidden leaks or complex systems need expertise to avoid further damage or voids in insurance. Professionals use specialized tools like acoustic detectors and provide lasting fixes. L.E. Brown Home Improvement offers thorough inspections, repairs, and prevention strategies, ensuring your home stays dry and efficient.
Wrapping Up and Looking Ahead
Inspecting and repairing indoor leaks this Fall safeguards against winter woes, saving water and money while preventing damage. With this complete, your plumbing prep is nearly done.
Next: An in-depth on testing and cleaning sump pumps, the fifth task. Meanwhile, if leaks persist or you need assistance, contact L.E. Brown Home Improvement for all your plumbing needs. Stay dry this season!