
Welcome back to our series on preparing your home’s plumbing for winter! In our introductory article, we highlighted five key Fall tasks to protect your system from the cold. We then explored the first task—disconnecting and draining outdoor hoses and faucets—in detail. Now, as we move into the second recommendation, we’ll provide an in-depth look at insulating exposed pipes. With the calendar showing October 01, 2025, and cooler nights already setting in across many areas, this is a timely step to take before temperatures plummet further.
Insulating exposed pipes is a critical preventive measure against freezing, which can cause pipes to burst and lead to extensive water damage. When water inside pipes freezes, it expands, exerting tremendous pressure—up to 2,000 pounds per square inch—that can crack even metal pipes. The resulting floods can ruin floors, walls, and belongings, with repair costs averaging around $500 but potentially soaring to $5,000 or more depending on the extent of the damage. By insulating now, you can slow heat loss from the pipes, keeping the water inside above freezing temperatures longer and reducing the risk of emergencies. This task is especially important for homes in colder climates, but even milder regions can experience unexpected freezes.
However, insulation isn’t a cure-all; it’s most effective when combined with other preparations like sealing drafts. If during this process you discover issues such as corroded pipes, leaks, or inadequate existing insulation, it’s essential to address them promptly. DIY attempts on complex problems can lead to further damage, so at the first sign of trouble, contact L.E. Brown Home Improvement. Our experts can assess your setup, recommend the best materials, and ensure professional installation for optimal protection.
Understanding Exposed Pipes: Where and Why They Need Insulation
Exposed pipes are those not protected by heated interior spaces or buried underground. Common locations include:
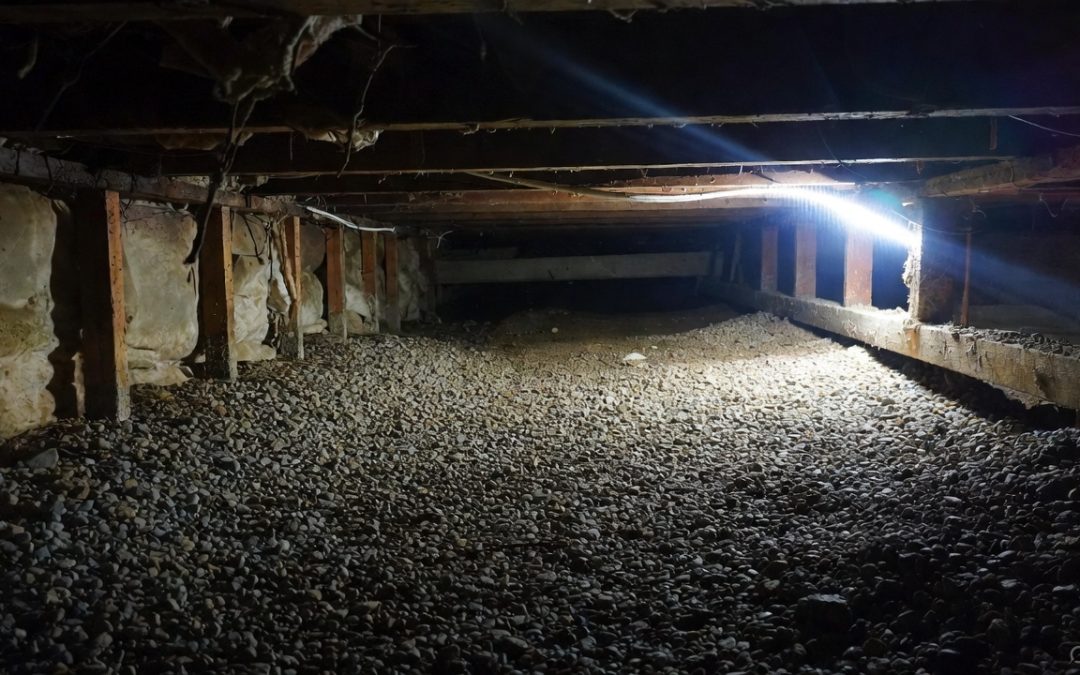
- Basements and crawl spaces (especially unheated ones)
- Attics and garages
- Exterior walls or under cabinets near outside vents
- Utility rooms or areas with poor airflow
Both hot and cold water pipes should be insulated, as hot lines lose heat quickly in cold areas, reducing efficiency, while cold lines are prone to freezing. Traps and valves also need attention, as they can be weak points.The goal of insulation is to create a thermal barrier that slows the transfer of heat from the pipe to the surrounding cold air. This doesn’t add heat but buys time during cold snaps. For extremely cold conditions or pipes in unheated spaces, active solutions like heat tape may be necessary alongside insulation.
Choose the right material based on your pipes’ size, location, and local climate:
- Foam Pipe Sleeves (e.g., Polyethylene or Rubber Foam): Pre-slit tubes that slip over pipes. Affordable, easy to install, and effective for indoor use. Brands like Armacell offer self-sealing options. Ideal for DIYers; R-values (insulation effectiveness) range from 3 to 4.
- Fiberglass Wraps: Flexible blankets wrapped around pipes and secured with tape. Good for irregular shapes like bends or valves. Provides higher R-values (up to 7) but can be messier to handle; wear gloves to avoid irritation.
- Mineral Wool (e.g., Rockwool): Fire-resistant and moisture-repellent, suitable for high-heat areas or outdoor exposures. More durable but pricier.
- Heat Tape or Cables: Electric strips that wrap around pipes and plug in to provide active heat. Use UL-listed, thermostatically controlled versions to prevent overheating. Combine with insulation for best results, but follow manufacturer instructions strictly to avoid fire risks.
- Phenolic Foam Sleeves (e.g., Kingspan): Rigid, high-performance option for commercial-like durability in homes.
Measure your pipes’ diameter (common sizes: 1/2-inch to 1-inch for residential) and length before purchasing. Opt for materials rated for your climate—thicker for colder areas. If unsure about the best type or if your pipes are in hard-to-reach spots, L.E. Brown Home Improvement can guide you or handle the job.
Tools and Materials You’ll Need
Prepare these for a smooth installation:
- Pipe insulation (sleeves, wraps, or tape as chosen)
- Utility knife or scissors (for cutting insulation)
- Duct tape or zip ties (for securing)
- Measuring tape
- Gloves and safety glasses
- Flashlight (for dim areas)
- Optional: Heat tape, caulk for sealing gaps, or compressed air for cleaning pipes
Ensure materials are dry and pipes are clean before starting.
Step-by-Step Instructions for Insulating Exposed Pipes
Follow these steps carefully. Work in mild weather, and shut off water to the pipes if possible for safety.
Step 1: Inspect and Prepare the Pipes
- Locate all exposed pipes using a flashlight to check hidden areas.
- Clean off dirt, rust, or old insulation. Repair any leaks first—drips can reduce insulation effectiveness and lead to mold.
- Seal air leaks around pipes with caulk or spray foam to prevent cold drafts.
If you find corrosion, cracks, or frozen sections (unlikely in Fall but possible), stop and call L.E. Brown Home Improvement immediately to avoid bursts.
Step 2: Measure and Cut Insulation
- Measure the pipe length, adding extra for overlaps at joints.
- For sleeves: Cut to length with a utility knife, ensuring slits align for easy fitting.
- For wraps: Cut sections long enough to spiral around the pipe with 50% overlap.
Step 3: Install the Insulation
- For sleeves: Open the slit, slip over the pipe, and press to seal (use tape if not self-adhesive).
- For wraps: Start at one end, wrap tightly without compressing too much (which reduces effectiveness), and secure with tape every 1-2 feet.
- Cover bends, valves, and fittings completely—use miter cuts for elbows or extra pieces for odd shapes.
- If using heat tape: Wrap it spirally around the pipe first, then cover with insulation. Plug into a GFCI outlet and test.
Overlap sections by 1/2 inch and tape seams to prevent gaps.
Step 4: Secure and Test
- Use duct tape or ties to hold everything in place.
- Turn water back on and check for leaks or condensation over the next few days.
- In very cold areas, consider adding a secondary layer or enclosing pipes in insulated boxes.
Step 5: Special Considerations
- Outdoor or garage pipes: Use weatherproof materials and consider burying if feasible.
- PEX vs. Copper/PVC: All benefit, but plastic pipes expand more, so insulation is key.
- If pipes run through exterior walls, add insulation between the pipe and the wall.
Common Mistakes and Troubleshooting
- Mistake: Incomplete Coverage: Gaps allow cold spots; always overlap and seal.
- Mistake: Compressing Insulation: Squishing reduces R-value; wrap snugly, not tightly.
- Mistake: Ignoring Heat Tape Safety: Non-thermostatic tape can overheat—always use approved products.
- Trouble Signs: Persistent cold pipes, moisture buildup, or unusual noises indicate issues like poor installation or hidden leaks. Address by consulting L.E. Brown Home Improvement for a fix.
Why Professional Help Matters
While insulating pipes is often a straightforward DIY project, challenges like accessing tight spaces, dealing with older systems, or integrating heat tape require expertise. Improper installation can lead to inefficiencies or hazards. At L.E. Brown Home Improvement, we offer full inspections, custom insulation solutions, and upgrades to ensure your pipes are fully protected—potentially saving you from those hefty repair bills.
Wrapping Up and Looking Ahead
Insulating your exposed pipes this Fall is a smart investment in your home’s resilience, helping maintain water flow and energy efficiency through winter. With this task complete, you’re one step closer to a worry-free season.Next up in our series: An in-depth exploration of flushing and maintaining your water heater, the third essential task. Until then, if insulating uncovers any concerns or you need hands-on help, reach out to L.E. Brown Home Improvement for all your plumbing needs. Stay warm and prepared!